Back to basics: oven chips

Today I’m starting a new series of blog posts, going back to the beginning and focusing on the basics of cooking. If you’re new to the cooking game, or have lacked the confidence to “cook from scratch” in the past, I hope that these posts guide you on your cooking journey and help you to discover a new joy in life!
Oven chips are a good first foray into “cooking from scratch” if you’re not super confident in the kitchen. There are very few ingredients required, no fancy equipment, and they take about 45 minutes from start to finish (depending on how quickly your oven heats up!). The main ingredient, of course, is the humble yet delicious potato. Potatoes can be broadly grouped into two categories: waxy and floury. Waxy potatoes, such as your Charlottes and Jersey Royals, are more firm when cooked and are commonly used in dishes like potato salad or just as boiled potatoes on the side of a dish. Floury potatoes, like Maris Piper or King Edward, fall apart more when cooked and are the spuds you want to turn to for things like roast potatoes, mash, and of course, chips. Most baking potatoes sold in supermarkets in the UK will be floury potatoes, so they are a safe bet for chip purposes. I normally go for between 150-200g (5-7oz) of potato per person if you’re serving the chips as a side, but you can adjust the quantities to suit you.

To prepare the chips, we first want to heat up the oven and our baking tray. Placing the chips on a hot tray rather than a cold one will help start the crisping process. Ideally you’ll want to use a non-stick baking tray (the Eaziglide Neverstick2 cookware is my favourite as it's also dishwasher-friendly, but any non-stick tray will do) but if you don’t have one to hand a normal baking tray with a sheet of greaseproof paper on it will also do the trick. While the oven is heating, you’ll want to wash your potatoes - I don’t bother peeling my potatoes, but you can if you prefer. Next, chop them into chips about 2cm thick. I find this size works well as the chips are large enough to hold their shape but slim enough to cook through well. Don’t worry if the chips aren’t all uniform in size - it’s not a beauty contest and they’ll all taste the same in the end! You’ll then want to rinse the chips under cold water briefly to remove some of the excess starch to help them crisp up better.


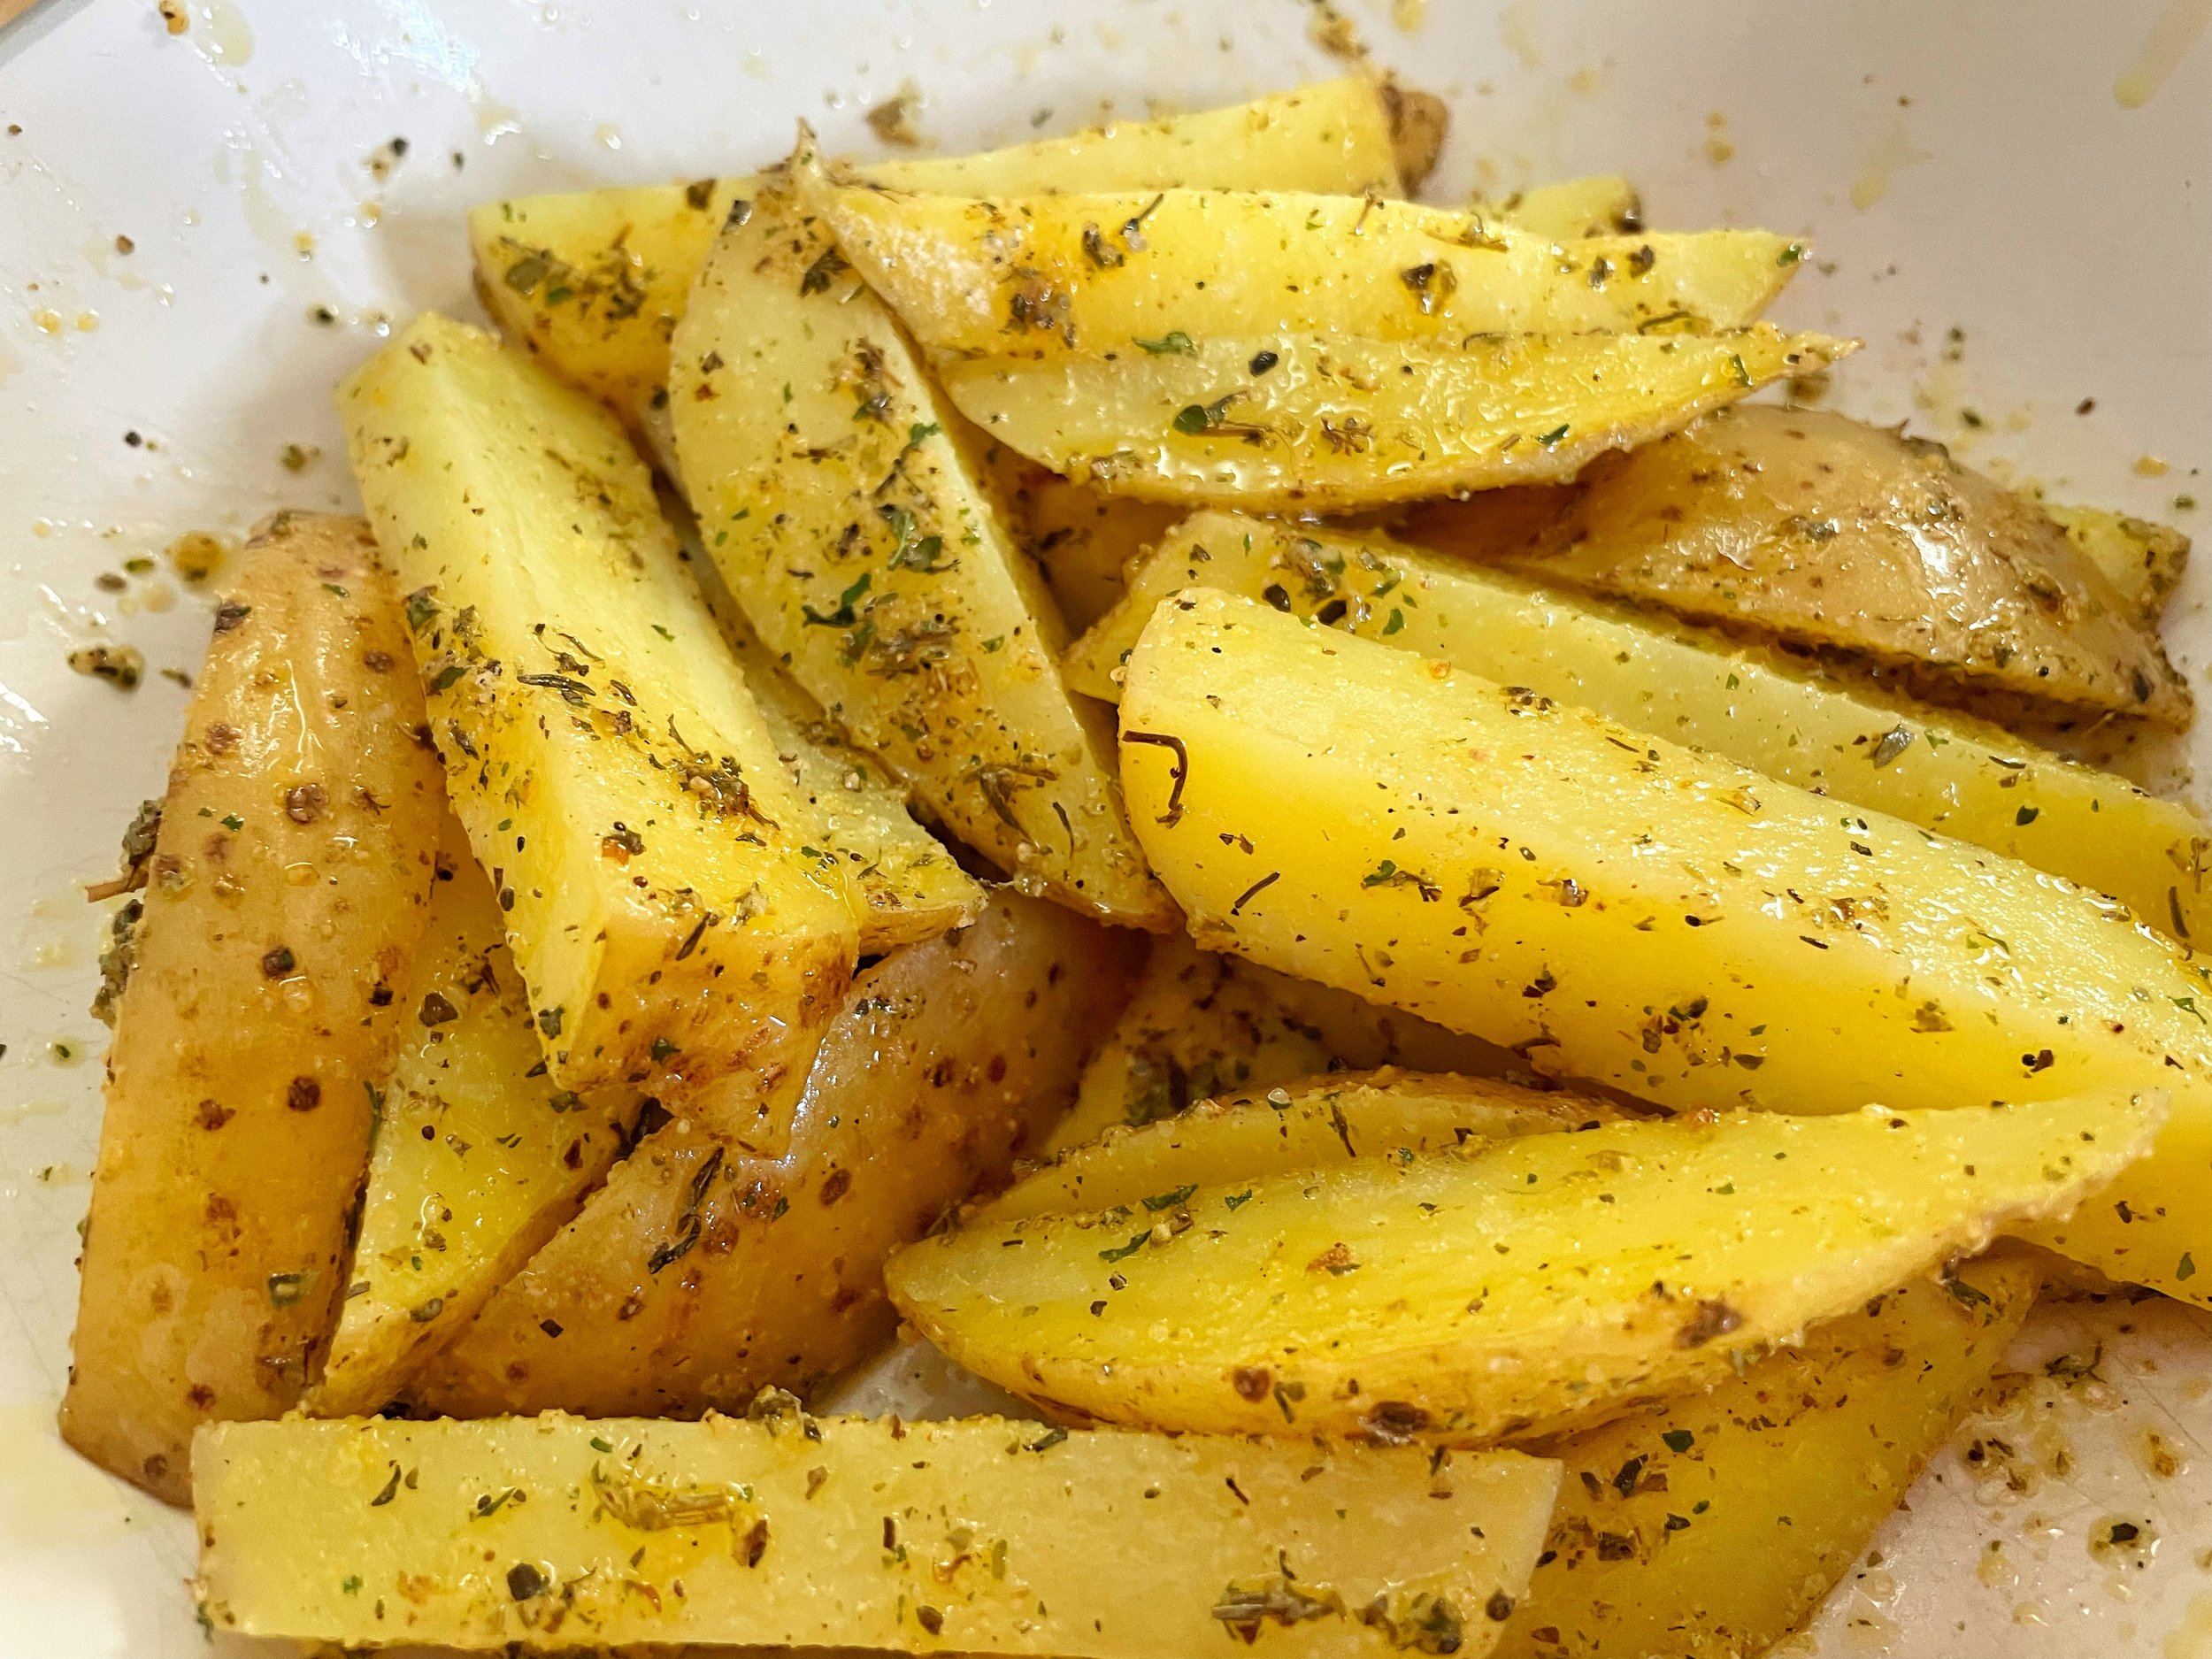
Once you have your chips, find a microwave-safe container that will fit them all in (or you can do this step in batches). Cook the chips in the microwave for 5 minutes on full power (my microwave is 800W so adjust accordingly). This essentially par-cooks the chips, making them softer on the inside. If you don’t have a microwave, you can also par-boil them in a pan of water on the hob for 5 minutes. Once the chips are par-cooked, carefully toss them in whatever herbs and spices you wish to use along with some vegetable oil. In the recipe below I’ve given the ingredients for garlic and herb oven chips, along with a few alternatives at the bottom of the recipe, but you can be as creative as you wish! I also include a small amount of cornflour in my recipe to help the crisping process even further - if you don’t have any in your cupboard then you can substitute for plain flour in a pinch. Make sure that each chip is well coated in the mixture.
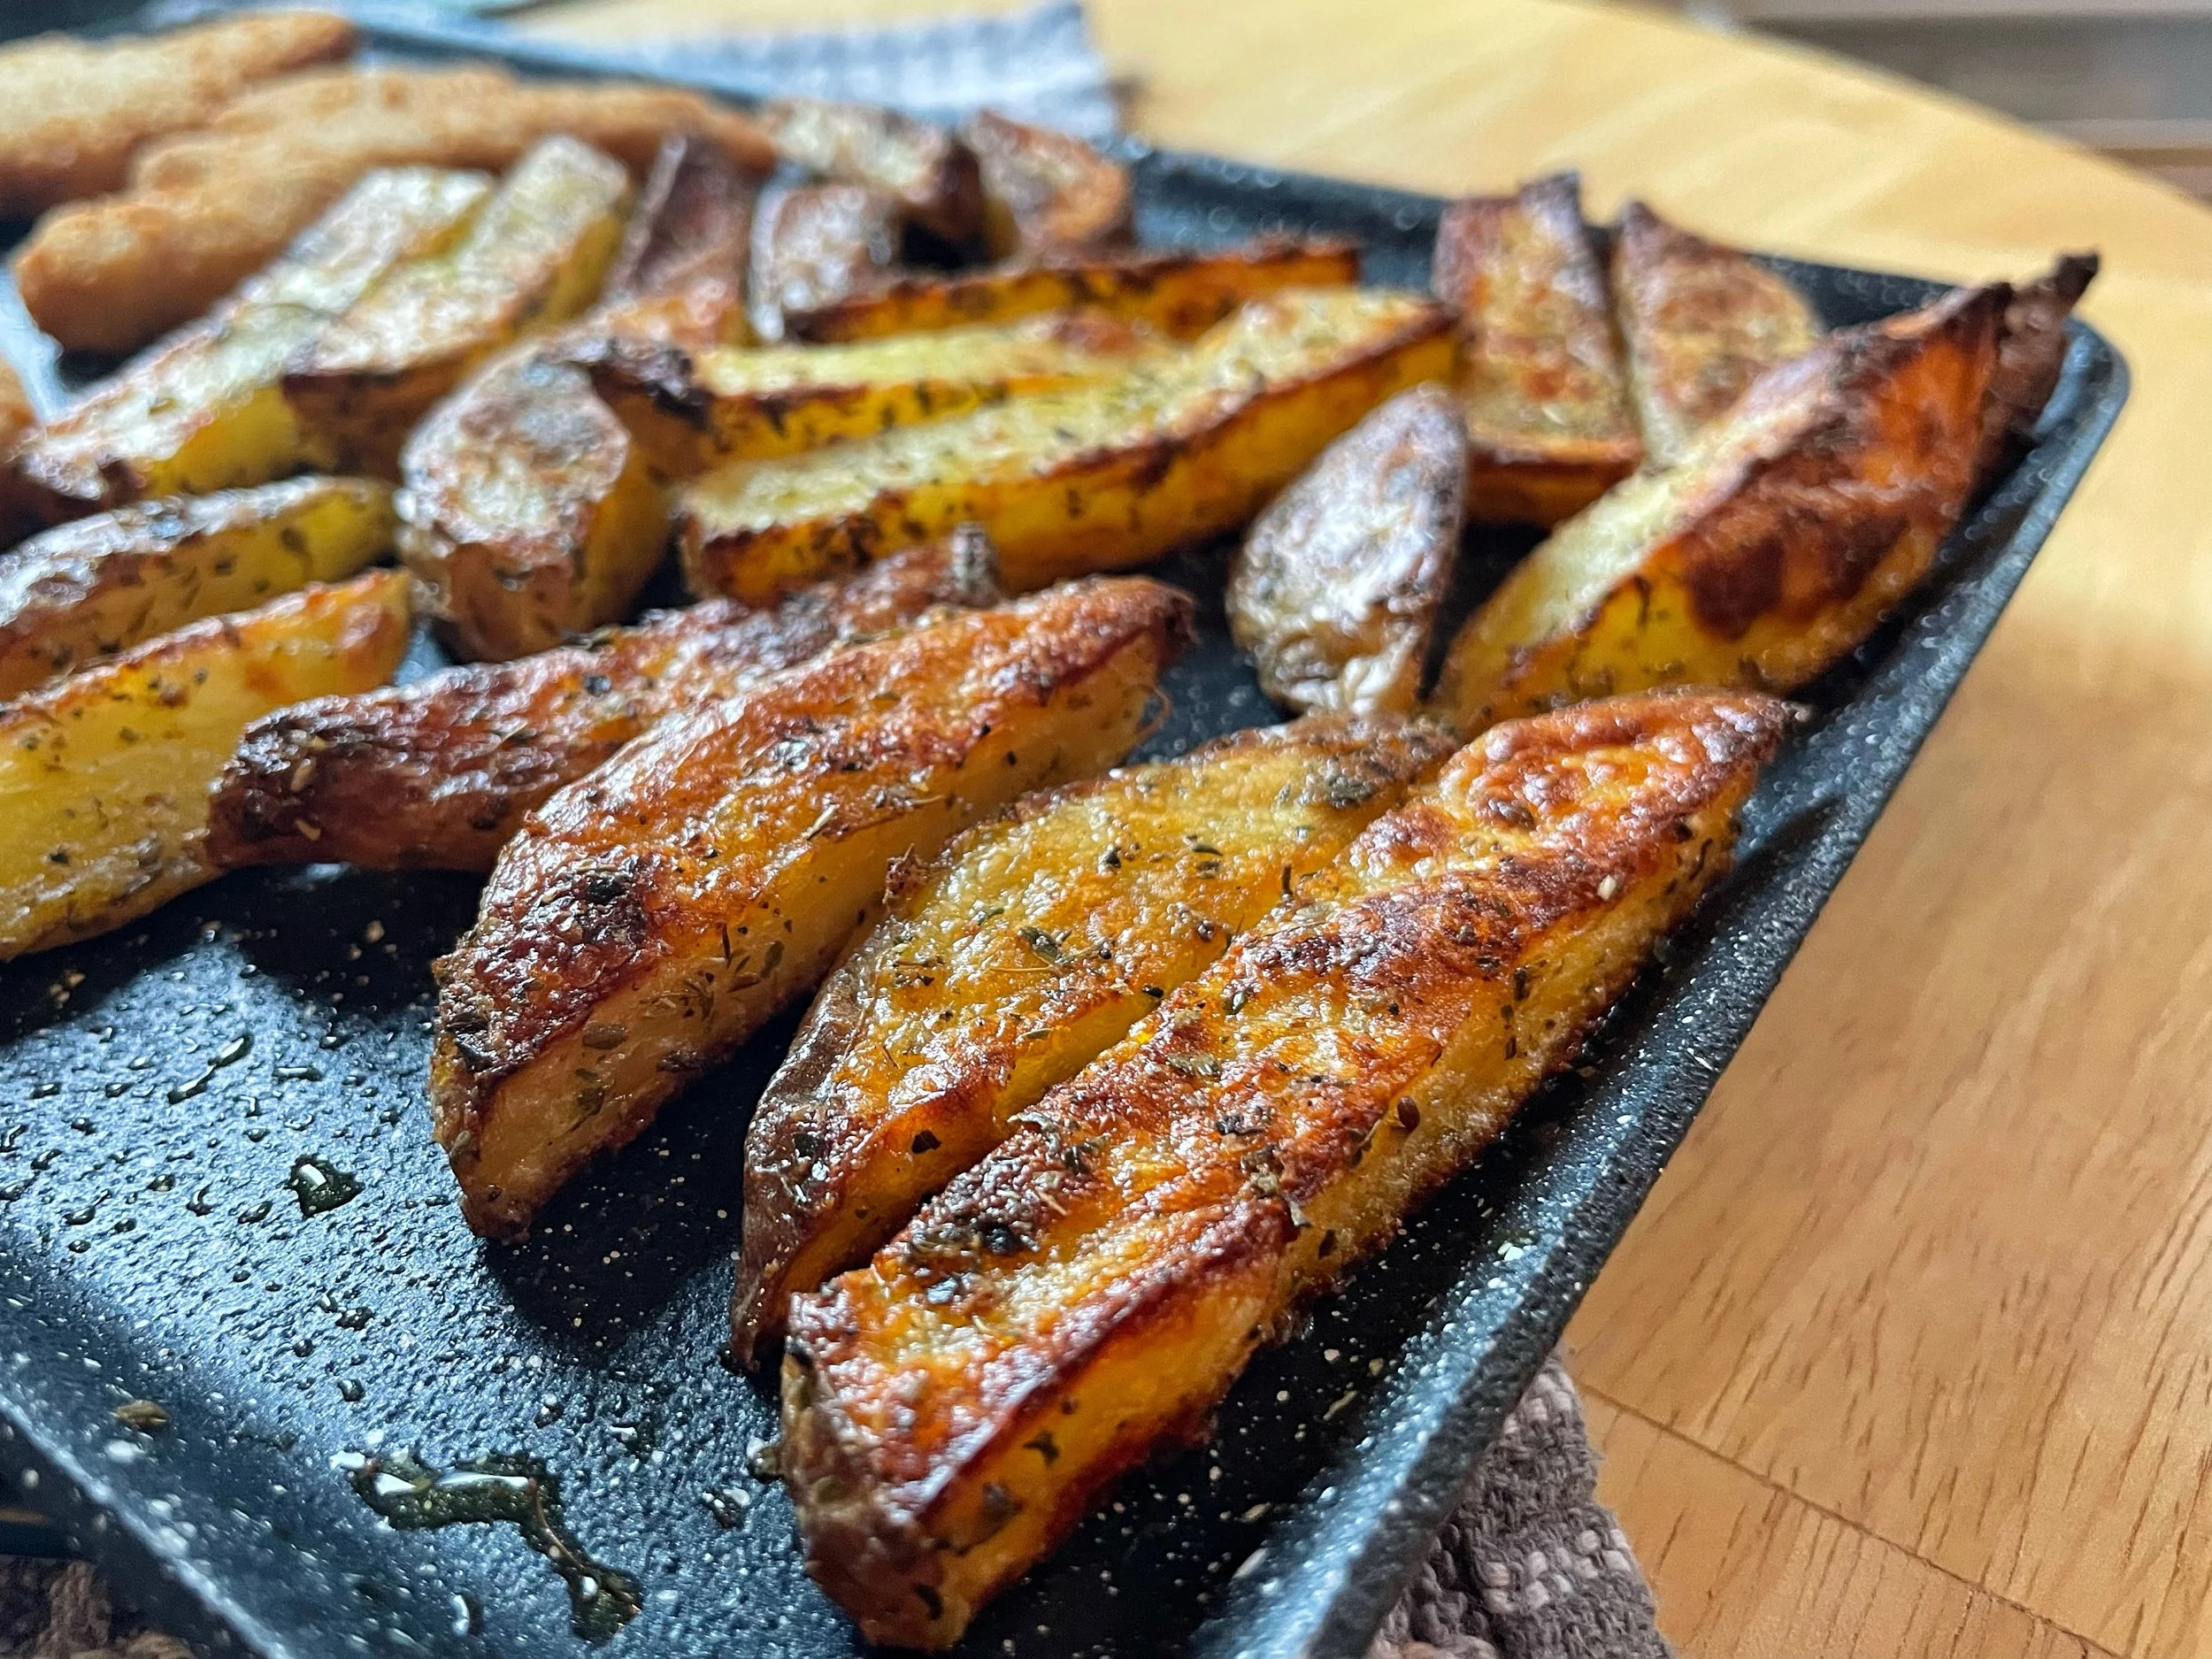
Now that the oven is hot, remove the tray and carefully tip your chips onto it, ensuring that the chips are spread on a single layer. You want as much potato to be in contact with the surface of the tray as possible to maximise crispiness. Place the tray back in the centre of the oven and cook for 30 minutes, flipping the chips over at the 15 minute mark. Once the chips are done they’ll be golden brown, crispy and delicious. You can serve these chips alongside anything you wish really; whether that be with a burger and some juicy corn at a BBQ, or embracing your inner child with dinosaur Quorn nuggets, peas and ketchup! Of course, there’s also nothing to stop you making a double batch to eat on their own, maybe with a sour cream dip? I wouldn’t blame you if you did.
Garlic and herb oven chips
Serves: 2 | Total time: 45 mins | Source: vicki cooks veggie
Ingredients
300-400g (10-14oz) white floury potatoes (normal baking potatoes work fine)
1 tbsp vegetable oil
1 tsp dried mixed herbs
½ tsp garlic powder/granules
½ tsp salt
¼ tsp black pepper
½ tsp cornflour
Method
Preheat the oven to 210°C (410°F) and place a non-stick baking tray in the oven to heat up.
Wash your potatoes, then slice into roughly 2cm (just under an inch) thick chips (don’t worry if some of them are a bit larger or a bit smaller).
Rinse the chips under cold running water, shake dry then place in a microwave-safe container.
Place the container in the microwave and cook on full power (mine is 800W) for five minutes.
Once the microwave has pinged, add all of the seasonings, salt and pepper, cornflour and the oil to the chips and mix well, ensuring that the chips are well coated.
Take the hot tray out of the oven, and carefully tip the chips onto the tray into a single layer.
Cook in the middle of the oven for 30 mins, flipping once halfway through cooking.
Serve and enjoy immediately while the chips are piping hot and crispy!
Alternative flavourings
Use 1 tsp smoked paprika along ½ tsp dried mixed herbs, ½ tsp salt, ¼ tsp black pepper and ½ tsp cornflour for a smoky flavour.
For a spicy Indian twist, use ½ tsp garam masala, ½ tsp cumin, ¼ tsp Kashmiri chilli powder (if you want some heat) and ½ tsp cornflour, with a squeeze of lemon at the end.
Keep it simple with just ½ tsp salt and ½ tsp cornflour.